How to Read a Planogram: A Step-by-Step Guide

In the fast-paced world of retail, efficiency and precision are key to driving sales and enhancing the customer experience. One of the essential tools used by retailers to achieve these goals is the planogram—a detailed visual representation of a store’s layout that dictates where and how products should be displayed. Understanding how to read a planogram is crucial for anyone involved in merchandising, from store managers to sales associates. This guide will walk you through the basics, ensuring you can confidently interpret and implement planograms in your store.
What Is a Planogram?
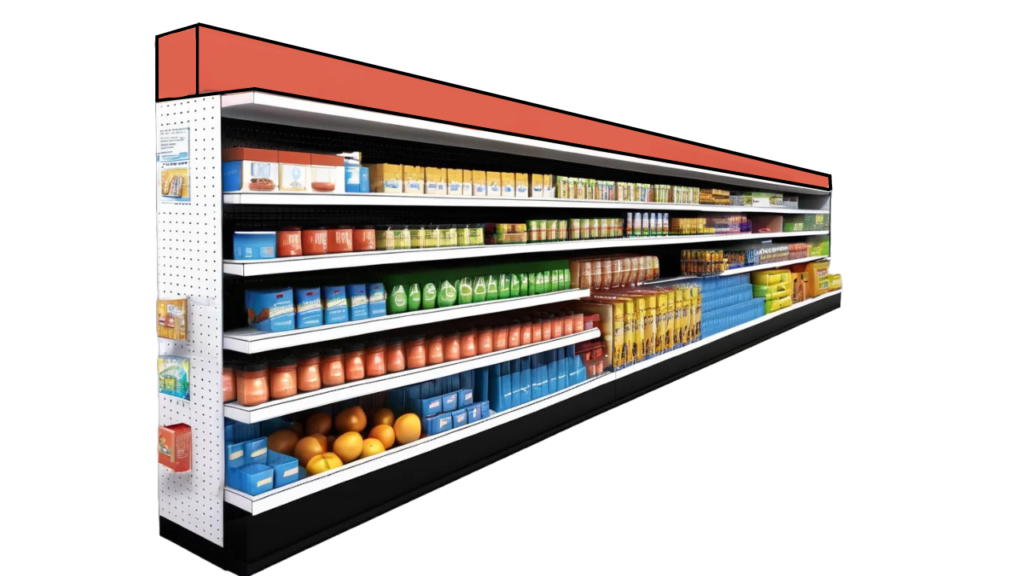
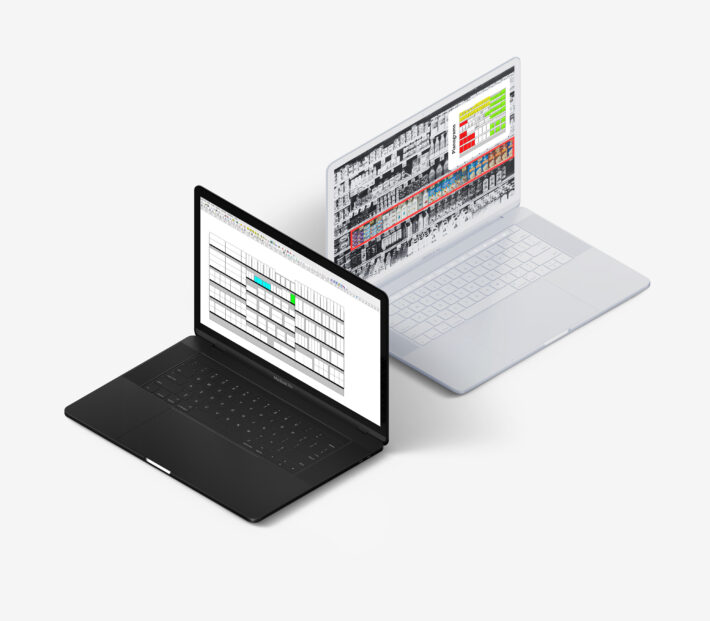
A planogram, sometimes referred to as a POG, is a schematic drawing or diagram that shows the placement of products on shelves or displays in a retail store. It’s essentially a blueprint for visual merchandising, helping retailers ensure consistency across locations, optimize shelf space, and enhance product visibility. By following a planogram, stores can improve customer flow, highlight key products, and ultimately increase sales.
Why Are Planograms Important?
Before diving into how to read a planogram, it’s important to understand why they matter. Here are a few key reasons:
- Consistency Across Stores: Planograms ensure that all stores present products in a uniform manner, maintaining brand consistency and delivering a consistent shopping experience for customers.
- Maximized Shelf Space: Proper use of planograms helps to optimize shelf space, ensuring that high-demand products are given prominence while low-performing items are minimized.
- Improved Sales: By strategically placing products in high-traffic areas or at eye level, planograms can boost product visibility and encourage impulse buys, leading to increased sales.
- Inventory Management: Planograms assist in better inventory control by providing a clear guide for how much stock should be on display and when restocking is necessary.

Step-by-Step Guide to Reading a Planogram
1. Understand the Basics
Before you start analyzing a planogram, familiarize yourself with its basic components:
- Layout Type: Planograms can vary in complexity from simple shelf layouts to intricate storewide designs. Identify whether the planogram covers an entire department, a specific aisle, or a single shelf.
- Product Images and Labels: Most planograms include images or icons representing each product, along with labels that indicate product names, SKUs, or barcodes.
- Shelving Units: Shelves, fixtures, and other display units are usually illustrated, showing where each product should be placed.
- Dimensions and Measurements: Some planograms include exact measurements for shelf heights, product spacing, and other dimensions to ensure precise placement.
2. Identify Key Sections
Start by identifying the key sections or categories within the planogram. These are usually clearly labeled and may include specific product categories, such as “Snacks,” “Beverages,” or “Personal Care.” Understanding the layout of these sections will help you navigate the planogram more easily.
3. Locate the Product Placement
Next, locate where each product should be placed within its designated section. Pay attention to the following details:
- Shelf Positioning: Identify the exact shelf where each product should be placed. This is often indicated by the product’s image or icon on the planogram.
- Facing Count: The facing count refers to the number of times a product is displayed on the shelf. For example, a product with a facing count of three should be displayed three times across the shelf, side by side.
- Vertical and Horizontal Placement: Note whether products are to be placed vertically (stacked on top of each other) or horizontally (lined up side by side). This placement affects visibility and accessibility.
4. Review Product Dimensions
Check the dimensions and measurements provided for each product. This ensures that the products will fit properly within the allocated space. If a product is too large or small for the space indicated on the planogram, adjustments may need to be made.
5. Understand Color Codes and Symbols
Many planograms use color codes and symbols to convey additional information. For example, color codes might indicate different product categories, promotional items, or special displays. Symbols may be used to highlight seasonal items, clearance products, or other special considerations.
6. Pay Attention to Merchandising Guidelines
Planograms often include merchandising guidelines or instructions that provide additional context for product placement. This might include:
- Planogram Compliance: Ensure that the setup matches the planogram exactly. Compliance checks are often performed to verify that the store layout aligns with the planogram.
- Promotional Displays: Follow any specific instructions for promotional displays or end caps. These areas are often key to driving sales and may have unique guidelines.
- Visual Merchandising Tips: Some planograms include tips for visual merchandising, such as arranging products by color, size, or brand to create an appealing display.
7. Double-Check Inventory Requirements
Finally, cross-check the planogram with your store’s inventory to ensure that you have the required stock levels for each product. If there are discrepancies, address them before implementing the planogram to avoid gaps on the shelves.
Conclusion
Reading a planogram may seem daunting at first, but with practice, it becomes an invaluable skill for anyone working in retail. By following this step-by-step guide, you’ll be able to interpret planograms with ease, ensuring that your store’s layout is both functional and visually appealing. Remember, a well-executed planogram not only enhances the shopping experience but also drives sales and strengthens your brand’s presence in the marketplace.
If you’re looking to optimize your store’s layout and improve merchandising efficiency, consider leveraging Analyticsmart’s advanced planogram tools and services. With our expertise, you can ensure that every inch of your retail space is working to maximize sales and deliver a superior customer experience.
Have A Question?
Learn how Analyticsmart can elevate your retail performance with data-driven insights and customized solutions.
Contact Sales
Have a question or comment? Submit your message through our contact form and a member of our team will get back to you within 24 hours.
Marketing Head | Analyticsmart
Unlock Your Retail Potential With Us


