
What Is a Planogram in Merchandising and How to Read a Planogram in Retail

In the world of retail merchandising, where a product is placed can be just as important as what product is being sold. From grocery stores and convenience chains to pharmacies and big-box retailers, shelf space is limited, competitive, and incredibly valuable. This is where planograms play a crucial role.
A planogram is more than just a shelf diagram—it is a strategic tool that blends data, shopper behavior, and merchandising principles to maximize sales, improve customer experience, and ensure consistency across stores. In this article, we will explore what a planogram is, why it matters in retail merchandising, and how to read and interpret a planogram effectively.
What Is a Planogram in Merchandising?
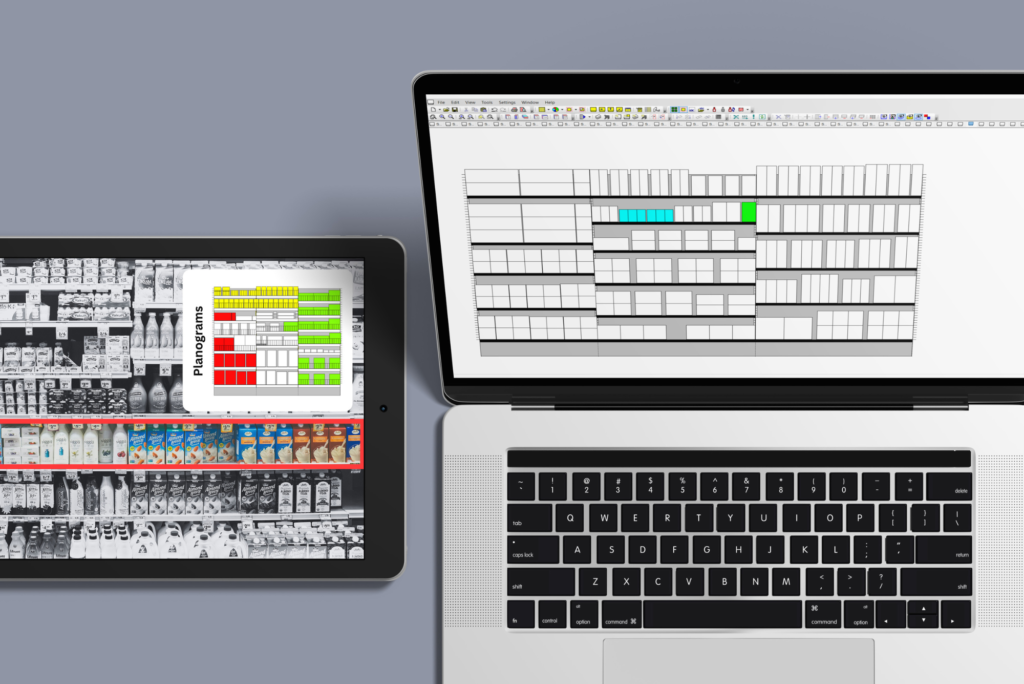
A planogram (often abbreviated as POG) is a visual representation or schematic diagram that shows how and where products should be placed on retail shelves, displays, or fixtures. It specifies the exact position of each product, including:
- Shelf location
- Product facings (how many units face the shopper)
- Product sequence and adjacency
- Shelf height and spacing
- Pricing labels and promotional tags
Planograms are typically created by retailers, category managers, or CPG brands using specialized merchandising software. They are then shared with store teams, field merchandisers, or third-party execution teams to ensure shelves are set up correctly.
In simple terms, a planogram answers one key question:
“Which product goes where, and why?”
Why Are Planograms Important in Retail?
Planograms are a foundational element of retail strategy. When executed correctly, they deliver value to retailers, brands, and shoppers alike.
1. Maximizing Sales and Profitability
Shelf placement directly influences purchase decisions. Products placed at eye level, near complementary items, or in high-traffic zones tend to sell more. Planograms are designed using historical sales data, margins, and shopper insights to:
- Increase product visibility
- Promote high-margin or high-velocity items
- Reduce dead or underperforming shelf space
2. Improving Shopper Experience
A well-executed planogram makes it easier for customers to find what they are looking for. Logical product grouping, clear navigation, and consistent layouts reduce shopper frustration and improve dwell time.
3. Ensuring Consistency Across Stores
For multi-store retailers, consistency is key. Planograms ensure that a shopper walking into Store A has a similar experience in Store B, regardless of location. This consistency strengthens brand trust and operational efficiency.
4. Supporting Category Management Strategy
Planograms bring category strategies to life. Whether the goal is to grow a specific brand, introduce new products, or optimize assortment, the planogram translates strategy into physical execution at shelf level.
5. Enhancing Execution and Compliance
Clear planograms reduce ambiguity for store staff and merchandisers. They set a standard that can be measured, audited, and improved over time.
Key Elements of a Planogram
Before learning how to read a planogram, it is important to understand its core components.
1. Fixtures and Shelves
The planogram outlines the type of fixture being used—gondolas, end caps, coolers, pegboards, or standalone displays—and the number of shelves or pegs available.
2. Product SKUs
Each product is listed by its SKU, name, size, and sometimes UPC. This ensures the exact item is placed in the correct position.
3. Facings
Facings refer to how many units of a product are visible to the shopper from the front. More facings typically indicate higher priority or higher sales velocity.
4. Shelf Position
Planograms show whether a product is placed:
- At eye level
- At waist level
- On top shelves
- On bottom shelves
Shelf height is strategic and often tied to shopper behavior and product importance.
5. Adjacencies
Adjacency rules define which products should sit next to each other. For example, chips near dips or shampoo near conditioner.
6. Labels and Signage
Many planograms include pricing labels, shelf talkers, promotional tags, or compliance notes.
Types of Planograms
Not all planograms are created equal. Different retail needs require different planogram types.
1. Block Planogram
Products are grouped by brand or category in blocks. This is common in grocery and pharmacy settings where brand blocking improves recognition.
2. Vertical Planogram
Products are arranged vertically so shoppers can see all brands and price points from top to bottom. This works well for categories with strong comparison shopping.
3. Horizontal Planogram
Products are placed horizontally across shelves, often used to highlight premium or hero products.
4. Modular Planogram
A modular planogram focuses on a specific section (or module) of the shelf and can be replicated across stores of similar size.
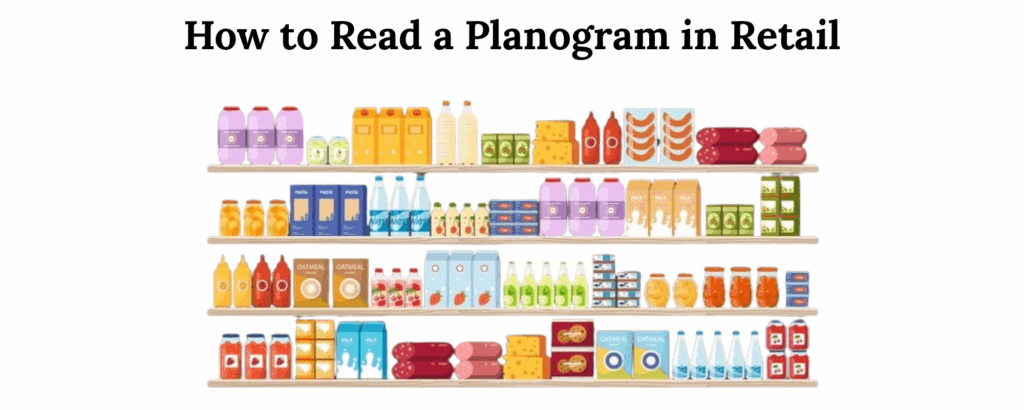
How to Read a Planogram in Retail
Reading a planogram correctly is essential for accurate execution. Whether you are a store associate, field merchandiser, or retail manager, the following steps will help you interpret a planogram with confidence.
Step 1: Understand the Context
Start by reviewing the header or summary section. This typically includes:
- Store format or size
- Category name
- Fixture type
- Effective date
- Version number
This ensures you are working with the correct planogram for your store and timeframe.
Step 2: Review the Fixture Layout
Look at the overall structure of the fixture:
- Number of shelves
- Shelf width and depth
- Special fixtures (hooks, baskets, dividers)
This gives you a mental map before placing products.
Step 3: Read Shelf by Shelf
Most planograms are read from top to bottom and left to right. Each shelf will display:
- Product images or SKU codes
- Number of facings
- Exact position on the shelf
Pay close attention to spacing and alignment—small deviations can impact compliance.
Step 4: Identify Facings and Quantities
Facings determine how many units should be visible at the front. A product with four facings should appear four times across the shelf, not stacked behind one facing.
Step 5: Follow Adjacency Rules
Ensure products are placed next to the correct neighboring items. Adjacency is often intentional and designed to drive cross-purchases.
Step 6: Check Labels and Signage
Confirm that price tags, shelf labels, and promotional materials match the planogram. Missing or incorrect labels can confuse shoppers and reduce conversion.
Step 7: Validate Compliance
Once the shelf is set, step back and compare it visually with the planogram. Many retailers also use compliance tools or audits to measure execution accuracy.
Common Mistakes When Reading Planograms
Even experienced teams can make errors. Some common mistakes include:
- Confusing similar SKUs or pack sizes
- Ignoring facing counts
- Substituting out-of-stock items without approval
- Misreading shelf height or orientation
- Using outdated planograms
Avoiding these errors improves consistency and performance.
The Role of Technology in Modern Planograms
Today, planograms are increasingly digital and data-driven. Advanced merchandising tools allow retailers to:
- Simulate sales impact before execution
- Customize planograms by store cluster
- Track real-time compliance using photos and AI
- Optimize assortments based on local demand
For field teams, mobile planogram apps make it easier to access, interpret, and execute planograms accurately in-store.
Final Thoughts
A planogram is one of the most powerful tools in retail merchandising. It transforms strategy into execution, data into decisions, and shelf space into revenue. Understanding what a planogram is—and knowing how to read one correctly—empowers retail teams to deliver better shopper experiences, stronger brand performance, and measurable business results.
In an increasingly competitive retail environment, mastering planograms is no longer optional. It is a critical skill for anyone involved in merchandising, category management, or store operations.